
Module 5 – Lesson #8: Operating Leverage and Margin of Safety
Learn these concepts using the Bridge Method for straightforward computation and application.
Module 5 – Lesson #8: Operating Leverage and Margin of Safety Read More »
Learn these concepts using the Bridge Method for straightforward computation and application.
Module 5 – Lesson #8: Operating Leverage and Margin of Safety Read More »
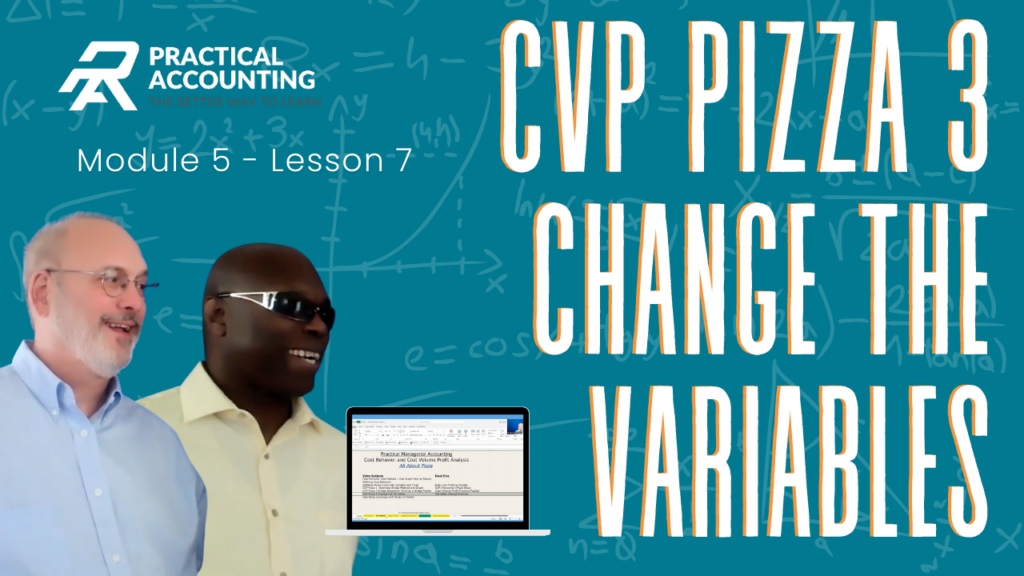
Module Highlight: Change Price/Unit, Variable Cost/Unit, Total Fixed Cost and Units. Make the Graphs Dance then Apply your Knowledge with Practice.
Module 5 – Lesson #7: Cost Volume Profit Pizza 3 – Change the Variables Read More »
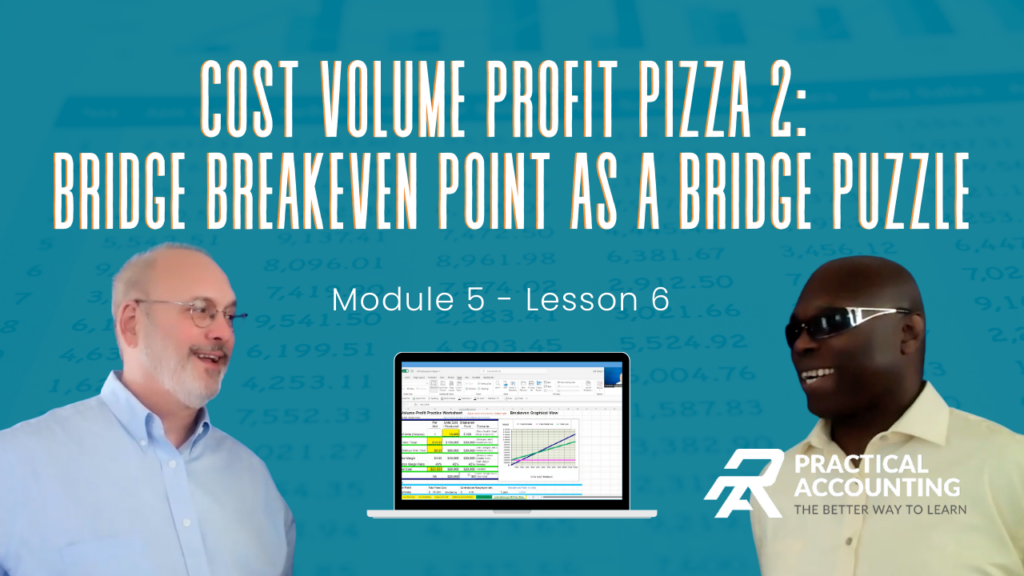
Apply the Bridge Method to calculate Breakeven Point without using the Formulas and apply your knowledge with Practice Puzzles and solutions.
Module 5 – Lesson #6: Cost Volume Profit Pizza 2 – Breakeven Point as a Bridge Puzzle Read More »
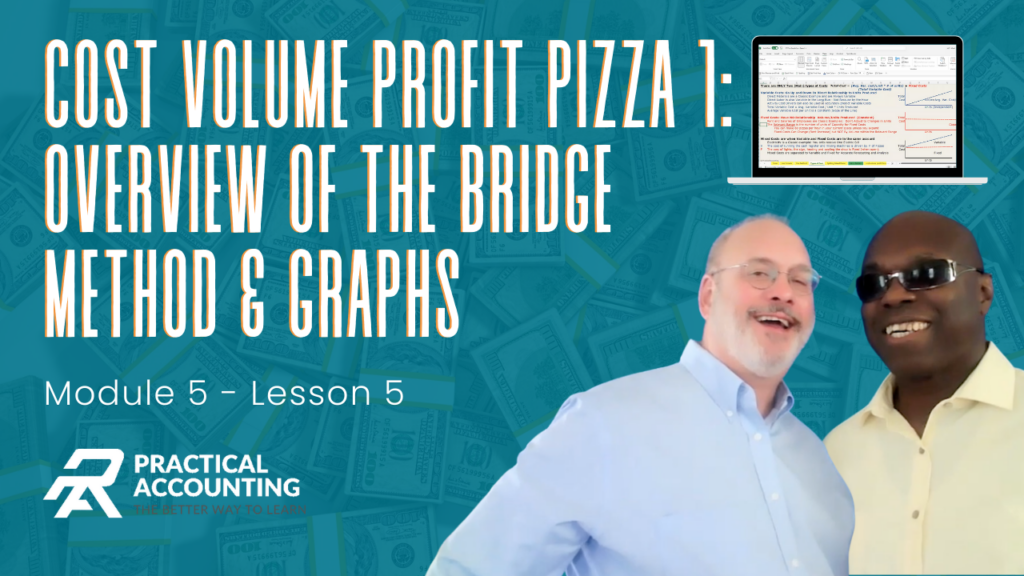
Integrate the Bridge Method of Computation with the Graphical Chart to develop the foundation of Breakeven Point Analysis.
Module 5 – Lesson #5: Cost Volume Profit Pizza 1 – Overview Bridge Method and Graph Read More »
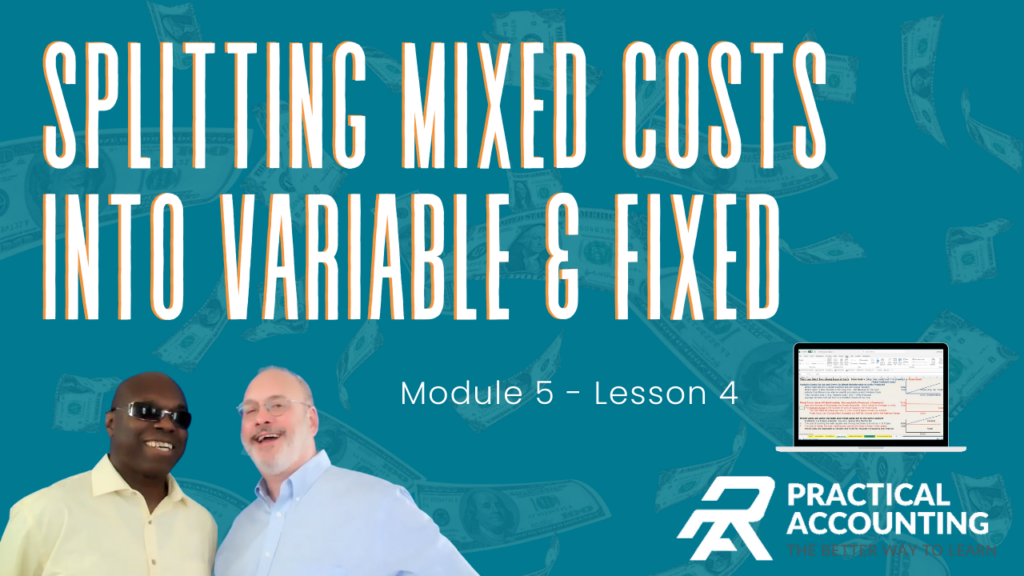
The Bridge Problem Solving Method is applied to a Self Checking Puzzle format to Separate Mixed Costs. Additional Practice Problems and Solutions are in the Workbook.
Module 5 – Lesson #4: Splitting Mixed Costs Into Variable and Fixed Read More »
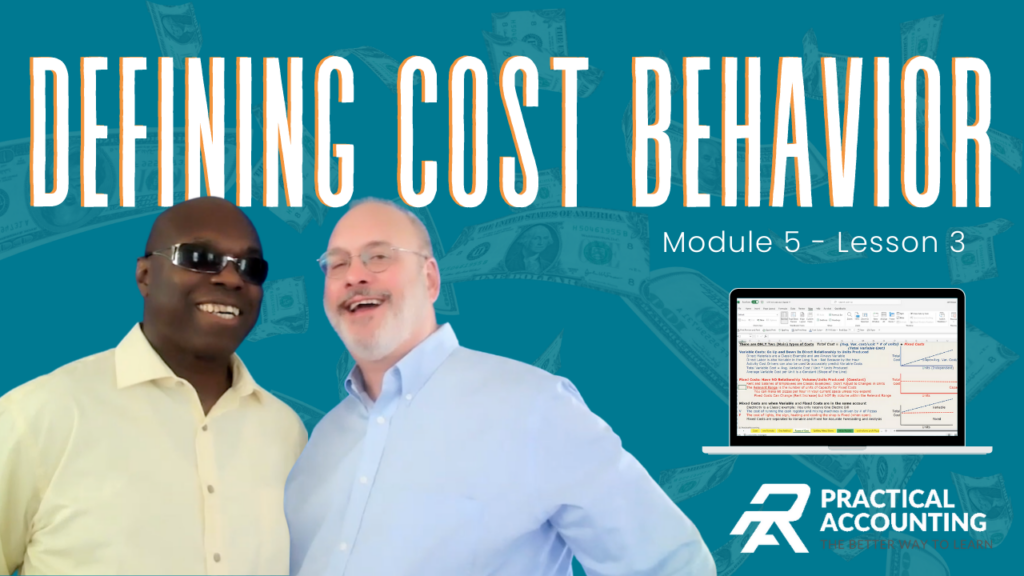
Learn the how to classify Costs using a Pizza Shop example with Graphics.
Module 5 – Lesson #3: Defining Cost Behavior Read More »
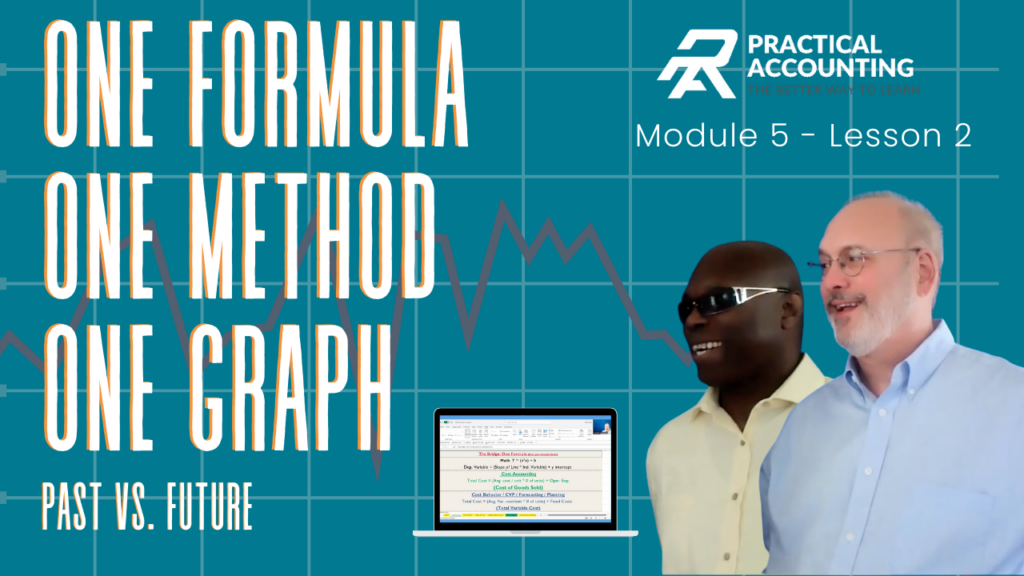
Introducing the Bridge: One formula that you already know applied to the course and a straightforward explanation using the One Method to explain the difference between Absorption and Variable Costing
Module 5 – Lesson #2: One Formula. One Method. One Graph. Past vs. Future. Read More »
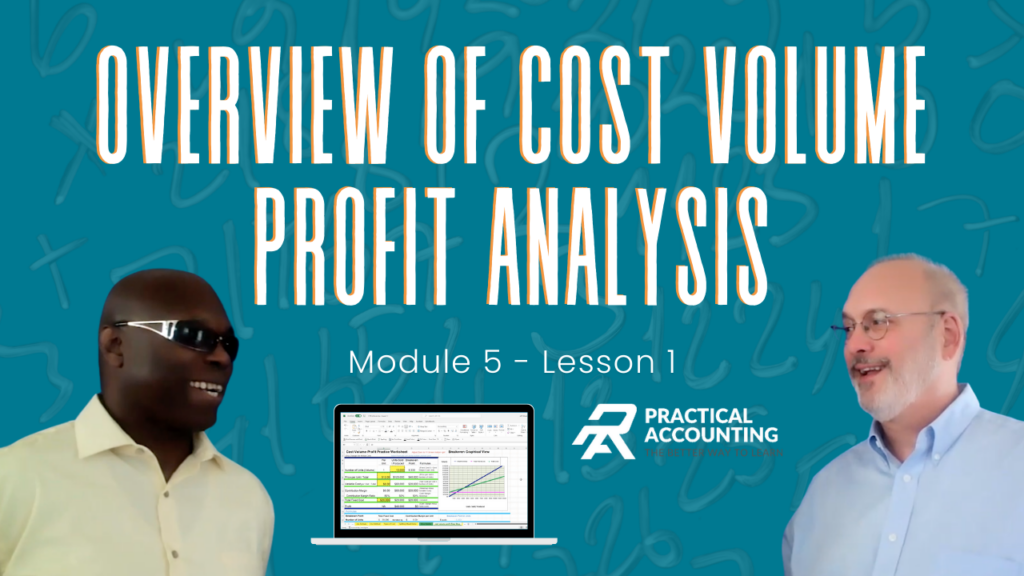
View some of the key moments from lesson 7 with dancing graphs and one method so you don’t have to memorize any formulas.
Module 5 – Lesson #1: Overview of Cost Volume Profit Analysis Read More »